Remember a while ago, I posted about a
DIY Photo Display? Well, it's something that I've been wanting to do for a long time, but I wanted to cover an entire wall and couldn't find anyplace that sold bulletin boards in the large size that I needed. Pottery Barn sells big
linen pinboards, but at $150 each, it would easily cost me over $1000 to cover my wall. Soooo...I made a wall-to-wall linen pinboard myself for about $100!
Darren and I are not handy people (we wish we were!). So, the fact that we were able to do this project speaks to how simple it really is. The only downside is that the boards are so huge and unwieldy that it's really a 2-person job. Other than that, it was a breeze! I'm thrilled with the results and am excited to share my tutorial with you:
 |
| Before: my little photo ledge looked a bit pathetic against that big blank wall. |
1. Start off with a big sheet of
Homasote. This is compressed recycled paper that is commonly used for soundproofing. It's the same size as a sheet of drywall (4 feet by 8 feet) and can be found at Home Depot or lumberyards for about $25 per sheet. It's not heavy, but it is very big. Because my wall was so large, I used two entire sheets.
2. Drape your homasote with the fabric of your choice. You will need 3 yards of fabric to cover an entire sheet of homasote. I chose white linen and this was the most expensive part of this whole project. It cost me about $65 for all of my fabric. I've seen people do this with patterned fabric too and that can be very pretty, but it's hard to line up the pattern with the edge of the board.
3. Using a staple gun, staple the fabric to the board. I used binder clips to hold my fabric up as I stapled. When I got close to the binder clip, I would remove it and stretch the fabric with my free hand while stapling with my other hand. Make sure you are pulling the fabric as you go, to ensure a smooth surface.
4. Once the fabric is all stapled, trim off the excess fabric so that you don't have a bunch of loose fabric in the back. Then, flip the homasote board over and pre-drill holes where you want the screws to be. I made three holes along the top and three on the bottom.
5. Line up the board against the wall exactly where you want it to go. This can be very hard if you are using a huge board, like I am. To manage this, I decided to use my dining table to hold up my board and pushed the board flush up against the wall. Using the drill again, drill through the holes on the homasote right into the wall. You are marking the wall where the drywall anchors will go (sorry, I forgot to take a picture of this). Put the homasote board back down and install drywall anchors.
6. Put the homasote board back up, right back in the exact spot where you had it last against the wall. All the holes should now line up with the drywall anchors. Screw the board in using drywall anchors and finishing washers (optional). Once you line up one hole, all the other ones should be a breeze.
 |
| Drywall anchor and finishing washer. I intend to cover these up with photos. |
Voila! Here's the finished project! I love how it easy it will be to add and change pictures. Plus, I won't need to spend money on frames every time I want to print out new pictures. We often have guests over and I think it will be fun for people to look through our family photos and see how we've changed over the years. I'm looking forward to making new memories to add to our new photo wall!


 My awesome dad hemmed these curtains for me, but I accidentally asked for them too short. I might readjust the length.
 I've rearranged and moved around a lot of accessories from other parts of the house. Here, the mirrors used to be in the dining room and the lamp was on my bedside table.
 We only have 3 bedrooms, so now our master bedroom has to double as an office. I'm trying to keep it as clutter-free as possible. Lucite accessories work well, as they don't take up visual space.
 We got an awesome deal on this armoire...from $1800 to $500 at the now-defunct Big Pagoda in San Francisco.
 Here is a standard, cheapo contractor-grade door before.
 And here's a shot from our front door of a couple of black doors, after. Sorry I don't have more photos to share right now!
 On a different note, I LOVE SPRING! Look at all the pretty flowers!
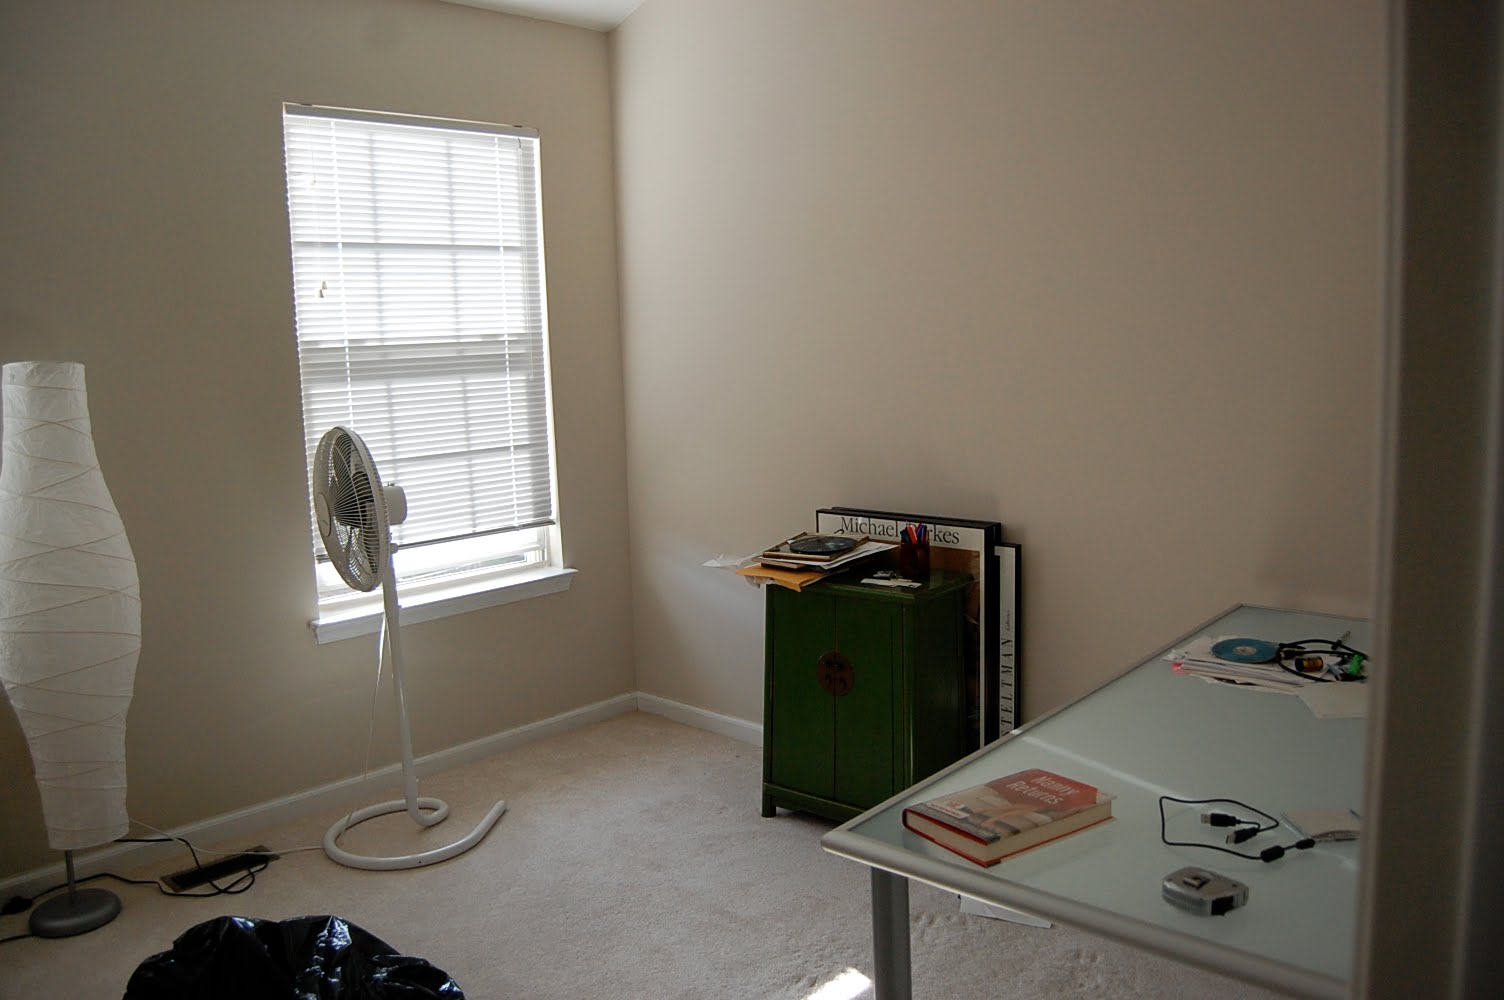 Here is the ugliness that was Darren's office before. And this is much cleaner than it usually looks.
 Halfway done cleaning.
 "S" is for....well, you know...
 Ta-dah! Everything is done except for the window treatment. I'm thinking of doing bamboo blinds or roman shades.
 The absolute best part of her room is the bookshelf wall. Sophie's first words when she saw this today were, "WOW. Cool."
 The "Van Gogh" above the shelves is actually an oil reproduction in a gold gilt frame, given to us by Darren's parents. It lends a whimsical and colorful touch to the room, and emphasizes the high ceilings.
 This handpainted dresser was bought by my sister at a yard sale for about $20. I changed out the knobs for ceramic ones from Anthropologie.


 She just can't get over seeing all her books like this!
 And finally, no more stuffed animals please! They are the bane of my existence. I use these wicker baskets to corral them all.
 image via House Beautiful
 The final result. I'm going to hang a lightweight, tall mirror at the back wall.
 Before: Darren's side of the closet
 After: Darren's side
 Before: Mily's side
 After: Mily's side
 My favorite feature: a jewelry tray. No more tangled necklaces!